FAQs

Austral Motorhomes Wave White

Absolutely! We offer a range of customisation options for our truck campers. Whether it’s adjusting the interior layout or adding specific features, we work with you to create your dream motorhome.

Typically, it takes four to six months from the time of order to delivery. This timeframe allows us to ensure that every detail meets our high standards of quality. A standard build takes about 4 months whereas a custom built camper will take 6 months.

Yes, our motorhomes are designed with off-grid capabilities. They come equipped with solar panels, water tanks, and efficient power systems, making them perfect for remote adventures.

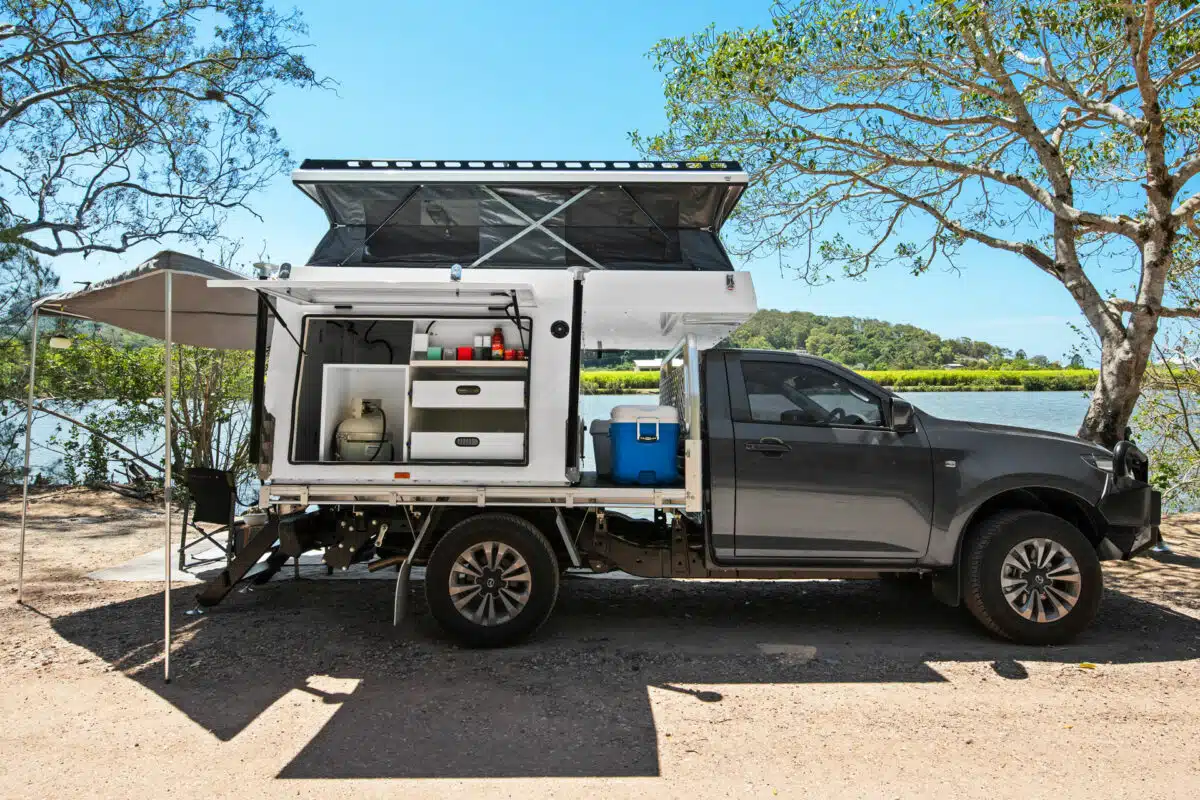
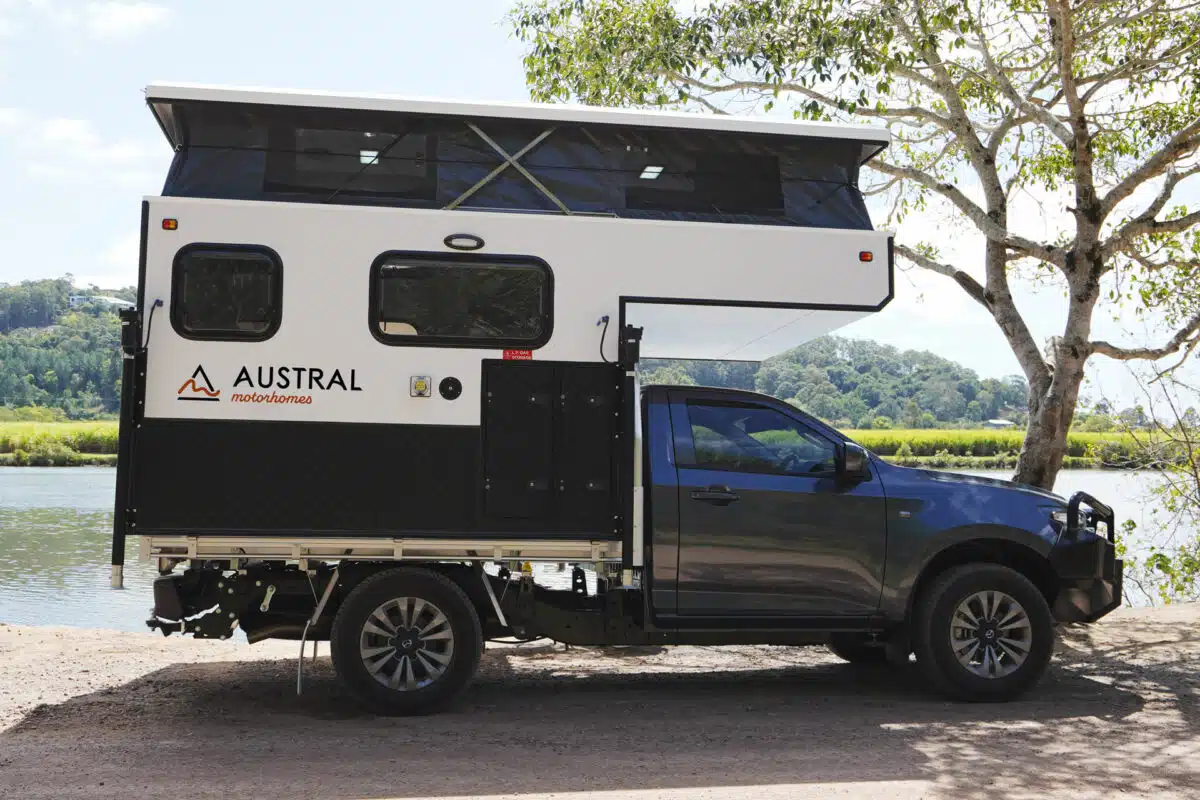
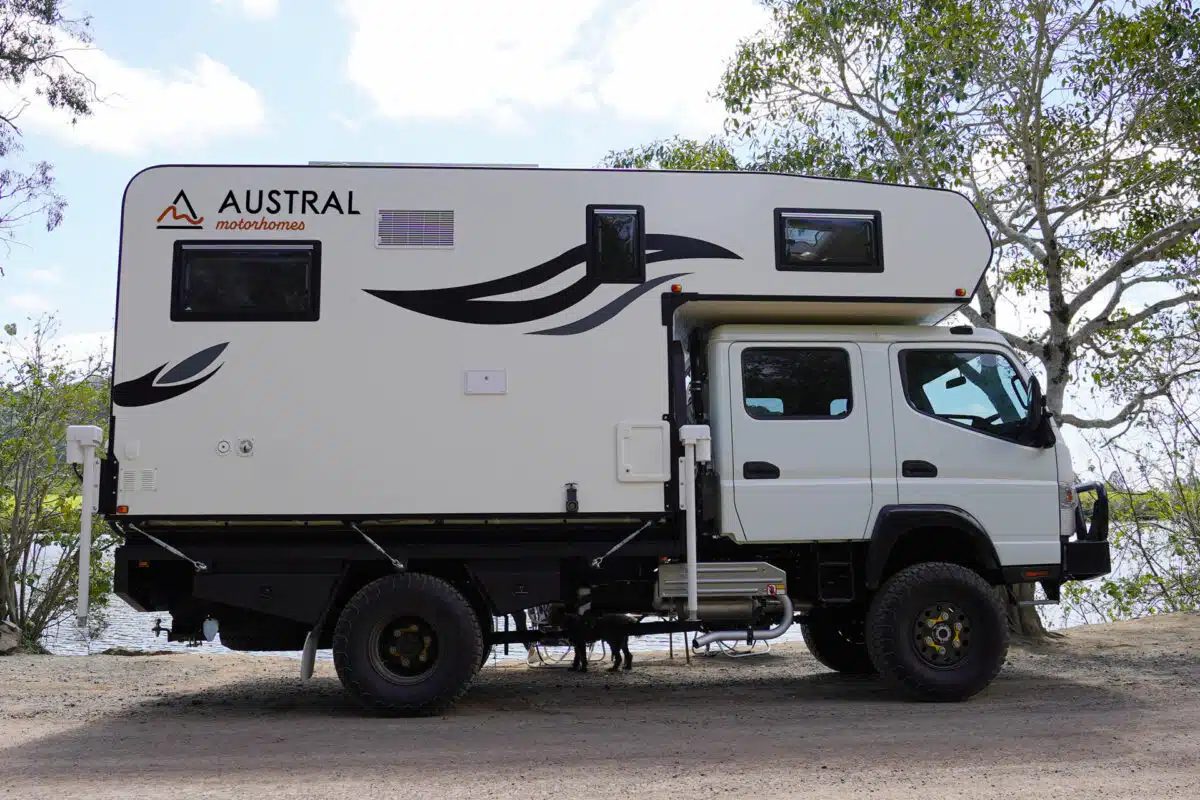
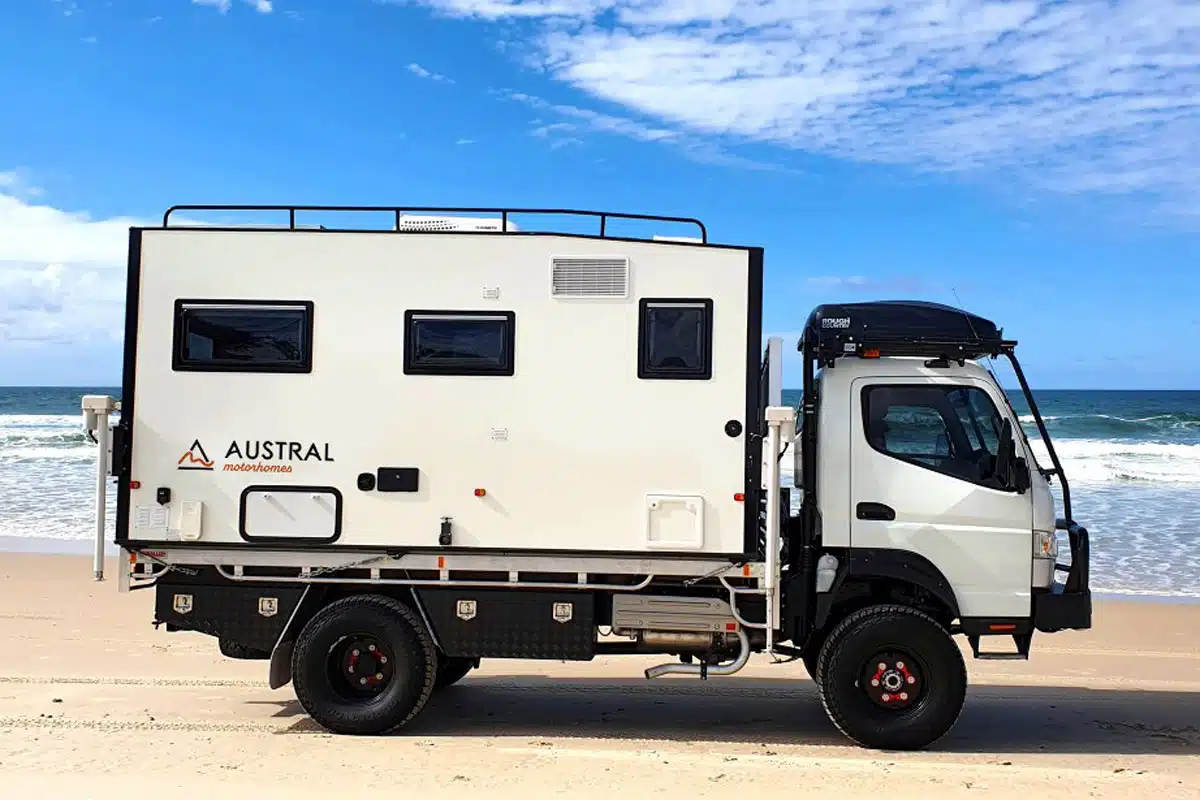
Our slide-on campers are designed to be versatile. While each camper is built for specific vehicle types (ute or truck), they can be fitted to a range of models within those categories.

Yes, we have financing options available. We understand that a motorhome is a significant investment, and we work with you to find a financing plan that suits your budget.

Yes, we offer a comprehensive 12 month warranty on all our campers. This covers both the manufacturing and any components we install, giving you peace of mind. We offer extended warranty for a fee at the date of purchase. 

We are only a phone call away and have the expertise and network to get you up and running.

Absolutely. Its best to get in touch before arriving so we can double check your vehicle is suitable for fitting the camper. We have all the hardware necessary to get you safely on your maiden voyage.

If the Scout electric legs aren’t working there are a few simple things to check:

    1. Is the controller light glowing? If not, push the red lever up on the leg controller (the red circuit breaker) and the light will glow.
      Scout Leg Lights
    2. Push the four clear buttons on the control panel (one button per leg), you will hear a click if the circuit breaker has popped out (it should be in this position). 
    3. If the power is on and battery power is low (below 12.5v), you may need to charge the battery before raising/lowering the legs.
      Battery indicator
    4. If the battery is well charged and items 1-3 are correct, the remote control battery could be dead. Replace the remote battery and try again. If you have lost the remotes, please contact us to order replacements.
    5. If one leg isn’t working and the other 3 are, then you could have a leg motor or wiring fault. You may have to manually raise or lower the leg. Unplug the leg from the camper and connect a battery to the leg wire (using 12v wires) that isn’t working. Connect black to one pin and red to the other. You can reverse the wires, the leg will move in the other direction.
      Scout leg plug
    6. If the motor has burnt out or malfunctioned, the only option is to remove the dust cover and manually wind the leg with a 19mm spanner or ratchet. If you use a drill, be sure to wind it slowly to avoid damaging the leg. Contact us to order a new leg motor (they are replaceable).
Img 1737

The inverter-charger modes are explained below:

  1. I – battery charger (Power Saver Auto)
    Select this mode when you are connected to 240v power source (either shore power or generator). The camper’s main isolator will also need to be on. The battery charger will charge your battery until it detects the battery is fully charged, then it will switch off. One green (power) and one amber (fast charge mode) light will glow (on the inverter/charger) while it is charging. If you unplug the 240v power, the charger will also turn off and you can leave it like this without draining your battery.
    If the lithium battery drops below 10v the battery management system will shut the battery down (i.e. sleep mode) as a safety measure. You will need to connect another battery to your battery to ‘wake it’ before attempting to charge the battery. 
  2. 0 – both inverter and charger are off (Unit Off)
    Select this mode when you wish to disable the inverter or charger and use the camper in 12v (battery) mode only.
  3. II – inverter mode (Power Saver Off)
    Select this mode when you have no other source of 240v and you need to operate a 240v appliance (e.g. electric kettle). Remember to turn the inverter off when you are finished as it will consume battery power.

We recommending installing a Bluetooth battery monitor (shunt) to monitor the status of your battery at all times. See the status lights image below to help you understand what each light means.

Inverter status lights

The water heater will work if you follow the steps below:

  1. Connect your hose to the city water valve or ensure you fill the water tank.
  2. Connect your full gas bottle and open the bottle valve.
  3. Check your battery is ON and charged to 13v. Connect to 240v if needed.
  4. Check the two circuits are active (Heater and Pump if using tank water). Note: You may need to push the round reset button above the switch if the hot water controller will not turn on.
    Scout Control Panel Water Heater
  5. Ensure the yellow gas valve is open (in line with the pipe). If not, turn the valve 90 deg so its inline with the gas pipe.
    Scout Gas Valve open
  6. Turn the hot water controller power ON by pressing the power button (the required temperature value will be displayed e.g. 39). Note: If the controller will not turn on, check if the unit has been turned off by removing the outside cover (check the fuse next to the on/off switch).
    Arana Gas Water Heater Controller
  7. Turn on the hot tap and you will get warm/hot water within 10 secs. The water heater outside exhaust will be hot, so take care not to cover it.